We are WINNERS: Adobe eLearning Design Awards!

We were recently announced as winners of the Adobe eLearning Design Awards, powered by eLearning Industry. A global call went out in January for submissions for eLearning projects created through the Adobe Captivate authoring tool. We decided to enter one of our favourite courses – “Getting to Know Your Boobs”, a module created with breast cancer awareness charity CoppaFeel!, supported by Avon.

We loved working with the passionate team at CoppaFeel!, and Avon added their global reach to make sure as many people as possible can be educated with this potentially life saving knowledge.

Our initial aim was to equip the amazing CoppaFeel! volunteers, ‘The Boobettes’, with the confidence and knowledge to deliver the charity’s awareness message effectively and to the best of their ability. Now that confidence can be shared with more than just the volunteers, as it can be accessed by anyone wanting to get into a healthy chest checking habit!

We wanted to ensure the course was kept concise but truly reflective of the stand-out style and overall ethos of the CoppaFeel! brand. Getting the narrative right was key to engage the target audience and match the fun, friendly and approachable tone of the organisation. We integrated large scale, vibrant photography alongside bold, custom graphics, engaging, interactive activities and embedded video content.

Working in close partnership with the CoppaFeel! team, we designed and built a fun, interactive digital learning module, based on content from their existing materials used in classroom inductions. You can see more about our process here.

We are extremely proud of the end result, so winning this award has really been the cherry on top!

All the winners were invited to take part in Adobe Unplugged – a live, knowledge sharing event, presented and attended by people from all around the world!

We unfortunately couldn’t attend in person, but produced a short video sharing our pearls of wisdom from working on this project in Adobe Captivate. Take a look below to find out more about the course and how we built it:

How to make video content: the easy way!

In the last year, I bet you’ve been asked to make multiple videos, maybe for someone’s birthday or a get well soon compilation. As our social lives have moved online (for obvious reasons), businesses are now seeing the opportunities with making home-made video content as well – it’s more authentic and personal, it allows for a flexible schedule, no studios need to be booked and a wider range of participants can be used, with none of the usual constraints around availability or geography!

Whilst most of us have the capacity to record video content on our phones, there are a few key elements to doing it [really] well. And according to my research, it’s really not that hard to make a professional looking and sounding video that can be built into an effective campaign, advert, training course, testimonial etc.

We’ve culminated a list of “Top Tips” to help guide you through recording quality video content for whatever purpose, without having to invest in any equipment you don’t already have at your finger tips.

Top Tips

1. Device

First things first, decide on the device you are going to record on. Without needing to spend anything, you most likely have a pretty decent camera at your finger tips. You might even be reading this blog with one staring you in the face from your phone, tablet, laptop or computer! Depending on the style of video required, one of these will definitely be able to do the job. A static shot could be great from a laptop or computer, whereas if you’re on the move a phone or tablet might be more convenient.

2. Environment

“Lights, Camera, Action” is a phrase for a reason. Before filming, make sure to check there is good light (no shadows or glaring lights), check the sound quality (see Tip no. 5 for more on that), and make sure you won’t be interrupted (Tip 9!). This may take a little patience and effort to get right, whether inside or outside, but our best advice is to trial some takes to make sure you’ve got the right environment to deliver the best recording.

3. Landscape or portrait

Follow instructions! You will most likely be asked to film in a certain ‘format’, so make sure to take note and follow through. You don’t want to nail a take and then have to start afresh because you had the recording device on landscape rather than portrait. Save yourself from being “that guy” by reading any instructions!

4. Steady Shot

To get a professional looking, steady shot, selfie mode is probably not going to be the best option, unless you’re going for the classic Blair Witch Project vibes. Can you prop your phone or recording device on a pile of books, shelf, or even a tripod? Or can you use a laptop or computer? Going hands-free will allow you the freedom to speak naturally, gesticulate if that’s your thing, and therefore allow for a more comfortable ‘performance’.

If it’s a moving shot, can you get someone else to record for you? If you can’t, the [dreaded] “selfie-stick” might be worth investing in, so you can get a wider angle!

5. Sound quality

In our ‘Do you know how to record quality, home-made audio’ blog we discussed creating a “soft space”. If you’re recording a video, we don’t advise climbing into your wardrobe to be surrounded by your not so freshly laundered clothes, or hunching under a tent of duvets! Instead, if you can ‘soften’ the space by adding soft furnishings such as cushions, blankets etc, this will make for better sound quality.

If you’re outside, you may need to use a little trial and error until you find a space that doesn’t have too much background noise. If you have the capacity to use a microphone, this will obviously improve the sound quality considerably – even just your phone’s headphones could improve things if that works with the type of video recording.
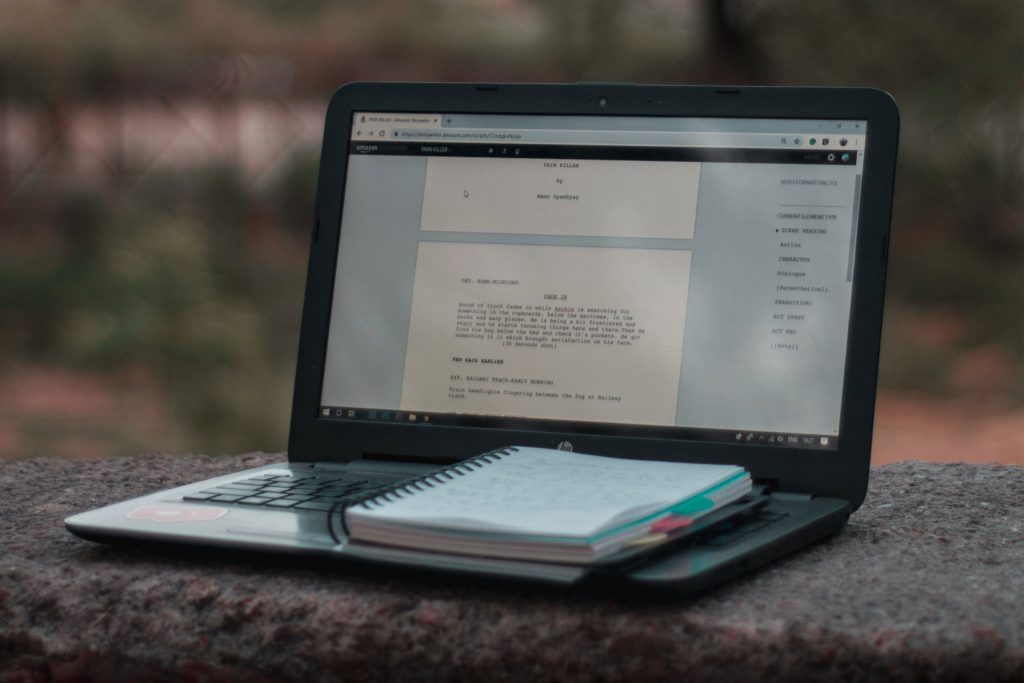
6. Script

Do you need a script? If so, when you’re on video this can be a bit tricky. Placing a script next to the screen can be obvious as your eyes go back and forth from reading it to then looking into the camera. If you really need to read a prompter, there are some great teleprompter apps you can find on whichever app store you use. Or, put the time in, prepare and practise what you need to say – it really will make all the difference.

7. Practise

Warm up your voice, practise your script if you have one, test out the sound and video elements and play them back so you know you’ve found the best possible setup to create the best possible output. Are you framed well in the shot? Can you hear yourself clearly? If you’re indoors and there’s a tinny echo, consider adding soft furnishings to your space, as mentioned in Tip 5. If you’re outside, it’s especially worthwhile testing what the background sounds like before going for a full take. A bit of trial and error will be worth it to produce the best quality video you can.

8. Look in the camera lens

If the piece you are recording is to the camera, make sure you know where the camera lens is! Try to avoid watching yourself on the playback screen, and focus on the lens, otherwise you won’t quite meet the eyes of the viewer(s)!

9. Quiet please!

If there is a chance of you being interrupted; close doors, close windows, put some signs up around where you’re filming. There’s nothing worse than getting a great shot, and right at the end someone accidentally walks in on you – human or animal!
That also goes for all your devices, turn off notifications whilst recording to make sure there’s no unexpected vibrations or “pings” spoiling a good take!

10. And finally, video accessibility is an important aspect when creating video content. Depending on what software you use to edit your video, or which platform you put it on, there are now [almost always] easy ways to add closed captions to make your content accessible for all viewers. A quick hunt on your favoured search engine will give you some helpful, simple tips on how to do this.

People are using devices with cameras now more than ever – whether its phones, tablets, laptops or computers, so we’ve all got the capacity to be our own film crew. It also only needs a small amount of preparation and thought behind it to do it well!

That being said, these are just some of the simplest tips and tricks to create valuable video content – if you have others, please let us know by tagging us on social media so we can continue the conversation and share lessons learnt (sometimes the hard way) with our community!

Do you know how to record quality, home-made audio?

If you answered “yes” to that question, then skip the reading bit, scroll down and tweet us YOUR top tips to record quality audio! If you nervously replied “not really” – then please read on…

Authenticity currently rules, so what can beat audio and video content made at your own convenience, right? The combination of a global pandemic and the evolution of the digital world has meant that more and more people are creating content at home. Most people have a camera and microphone in their pockets/hands most hours of the day so the capacity and potential to ‘create’ is far greater than ever before.

From citizen journalism, to company testimonials, to theatre performances via zoom – more and more is being asked of us to make “home-made” content. It can be really valuable in making reactive, fast paced, personal items, whilst looking and sounding good, too! Therefore, not only opening up the speed at which things can be produced, but also the opportunity to involve a wider variety of contributors without the usual concerns about location, time or budget constraints.

For any of you who have listened to a podcast made during lockdown, this is testament to that (Louis Theroux, we’re looking at you!)! You can quite simply record a top-class piece of audio [in your wardrobe] with the kids running around outside the door (but ideally not for sound quality purposes, as you’ll later see!)!

To aid you, and us, we’ve rounded up the most simplified Top Tips for recording home-made audio, without the need for any high-quality equipment. When you look up “How to…” online, things can get very ‘techy’ very fast, so from one novice to another, here’s what we’ve found useful…

Top Tips

1. Environment

First up, you’ve got to record in the right kind of environment or you’re falling at the first hurdle. Sound bounces off hard surfaces creating echo, so get yourself in a “soft space” – whether this is a room with lots of soft furnishings, or quite literally in a cupboard surrounded by your clothes a la Pulitzer Prize winner Ira Glass, presenter of This American Life. A make shift soft space can also work – build a duvet fort like presenter Fearne Cotton, or just bring lots of cushions and blankets into the space you have to work with. The smaller the space/room, the easier this will be to achieve.

Minimise ‘other’ noises as much as possible – unplug machinery (e.g. a buzzing fridge), turn your phone on airplane mode so you aren’t interrupted with notifications, close windows and curtains, put a sign up to remind anyone nearby that you are recording and need silence!

2. Microphone

Now there are a few things to cover with microphones, so here goes:

  • If you have a ‘decent’ phone/tablet/laptop/computer, you most likely have a ‘decent’ microphone. If used well, this might be all you need! The headphones/earbuds that come with your device (and have built in mics) are even better to use!
  • Dedicated recording apps exist to record good quality audio, so it might well be worth investigating in your app store and trying a few out to find one that suits your needs.
  • Obviously, purchasing a microphone will improve the quality of the audio you can create, but if you aren’t regularly recording, it may be a high price to pay when you have tools available [as described above] that if used well, could save you time and money.

3. Sound quality

  • Sit your microphone on something, so you don’t hold it, touch/tap it or move it around as this will cause changes in the audio quality.
  • And now the opposite advise: if you are using your headphone microphone that dangles down on the wires, don’t let it rest against anything (ie your chest, clothes) as it will cause rustling noise.
  • Practise to get the best sound quality: change up your distance from the microphone to figure out where sounds best. If you’re too far away background noise will be picked up, if you’re too close plosives will sound poppy. Using a ruler to figure it out isn’t a crazy idea! That’s why you might sometimes see tape stuck to the floor on tv or movie sets, because that’s the best spot for visual and sound purposes. Make yourself feel like a movie star and tape the best recording spot as a reminder if you need it!
  •  Leave gaps at the start and end of recordings – they can be easily edited out, and just means nothing of what you say will be missed or cut off accidentally.

4. Script

If you are just doing an audio recording (ie. no video), this means you can have a script or as many prompts sat in front of you as you like to make sure your recording is fluid, avoiding any “umm” and “ahh” moments – #winning!

5. Vocal warm up

To get the most out of your recording, make like a thespian and warm up those vocal chords. This will allow you to avoid any croaks or coughs during your recording that might mean you have to start again.

These are the most simple top tips we could gather from the depths of the internet to record audio at home, to the best of your ability! If you have any top tips to add – please click on one of our social links below and tag us in a message with your advice, we’d love to hear from you and share what you have to say with our community!